
Letter G Polymer Clay Alphabet Cane Tutorial
This article is part of a series of tutorials covering how to make letter canes with polymer clay. (Click here for a list of all of the other alphabet canes so far.)

I’m hoping to develop full tutorials with proper instructions and better photos, but in the meantime, here is a basic quick tutorial for creating a polymer clay cane with a letter “G” design running through it:
Step-by-step instructions: Letter “G” polymer clay alphabet cane
You will need:
- Approximately. 30g white polymer clay (i.e. half a standard-sized block of clay)
- Approximately. 8g black polymer clay (i.e. an eighth of a standard-sized block)
- Pasta machine or clay roller (Five things to look out for when buying a pasta machine for using with polymer clay)
- Tissue blade (clay slicer)
Step 0 – Condition the clay.
Step 1 – Slice off approx. one third of the white clay, and put it aside until later:

Step 2 – Roll the larger piece of white clay into a cylinder approx. 2.5cm wide by 2.5cm high:

Step 3 – Roll the black clay through the pasta machine to create a sheet of clay that is roughly 1.5mm thick (this is often the middle setting of a pasta machine):

Step 4 – Cut the cylinder in half, horizontally:

Step 5 – Cut the top section in two, with the left piece slightly larger than the right piece:

Step 6 – Rejoin the top left section with the bottom section:

Step 7 – Cut off a piece from the bottom section, roughly a quarter of the way in from the right hand side:

Step 8 – Cover the outside of the cane with the black sheet from Step 3. (Do not cover the two straight sides in the middle.) Trim off any excess black clay:

Step 9 – Replace the bottom right section of the cane:

Step 10 – Cover the horizontal line with more of the black sheet:

Step 11 – Replace top right section:

Step 12 – Using the smaller white block that was set aside in Step 1, roll it through the pasta machine on the thinnest setting and then wrap the thin white sheet around the outside of the cane:

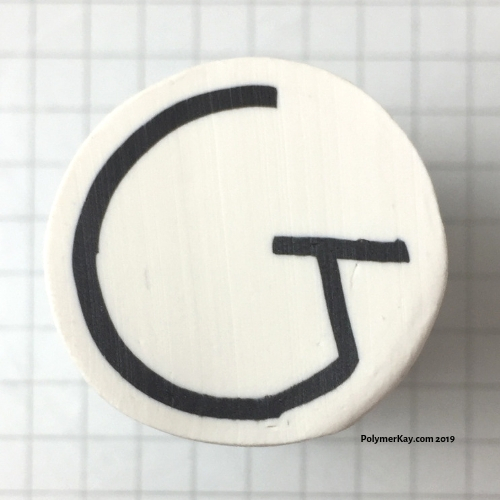
Finished cane:
Was this article useful? Have you tried it? How did it go? Tweet @polymerKay or say hi on my Facebook page), or just let me know via the contact us form.
Finally, if you don’t have time to make your own canes at the moment, there are some sites selling canes that are pre-made and ready to use (e.g. here (but sometimes canes for sale may be pre-cooked, so do check first…))
Update:
Here is an even quicker one-page reminder of how to create the letter G in polymer clay form. Hope you find it helpful :)
